Tuesday, March 20, 2012

Sock Monkey Party - Activities

Emily's first birthday party had a larger attendance of adults than children, so most of activities were things that all ages could enjoy. The front table had Dr. Seuss's "Happy Birthday to You" book and a sign requesting all guests to write a message for the birthday girl. I think she will enjoy that when she is older. 

The sign says: "Thanks for coming and have some fun, please sign the birthday book before you run!"

On the other side of the birthday book were some sock monkey tattoos I got at Birthday Express. I also put a damp cloth out so people could put the tattoos on. These were inexpensive but fun!


Also: The UT Co-op has everything.

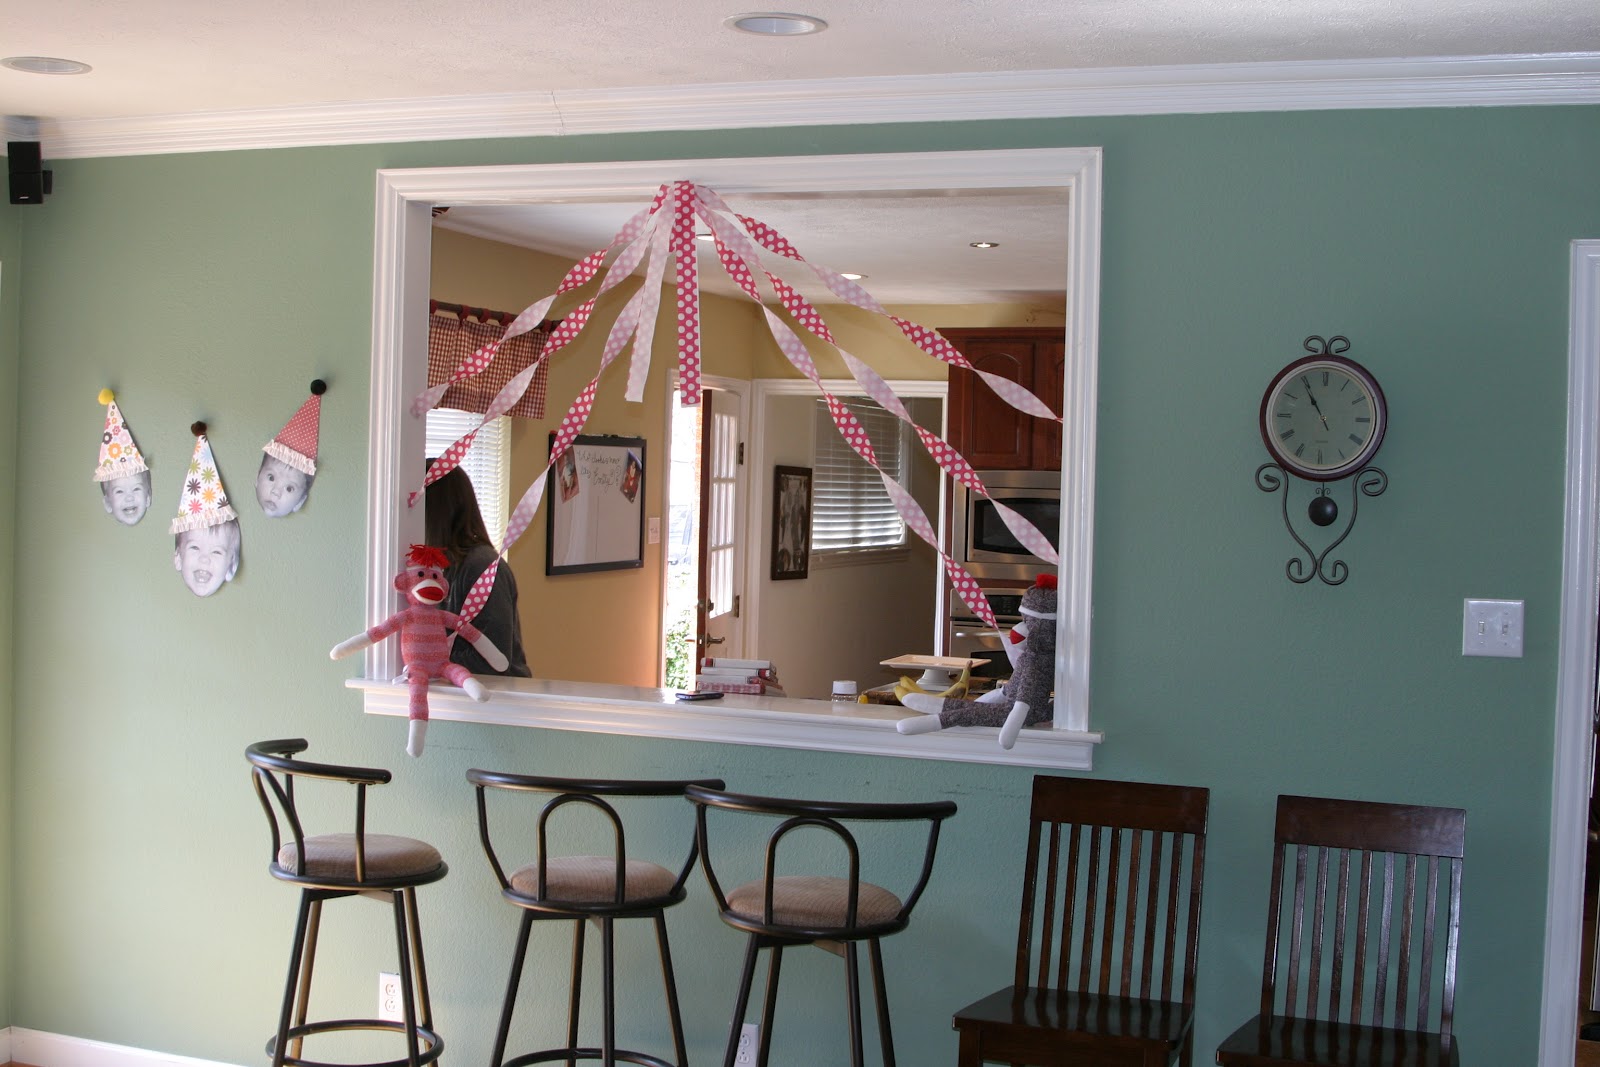
This was one of my favorite stations: The "Who Looks More Like Emily" game. We enlarged and printed two pictures, one of my husband at around 1, and one of me at the same age. Then we attached them to a dry erase board and people voted. He won, as I knew he would. I was surprised by how many votes I actually got!


We also had a photo booth set up, and I made these photo booth props that looked like sock monkey hats and mouths to use in the booth. I used craft foam board and dowels to make them. 


And that is IT for the sock monkey party! It all turned out pretty well, but I was good and exhausted afterwards!

Sock Monkey Decorations #2

I made some hanging flower decorations for over the dessert table. These were so easy, inexpensive, and super cute! I used a pack of wiffle balls from the dollar store and some dollar store fake flowers. I pulled the flowers off their stems and used a hot glue gun to glue them into the holes of the wiffle ball. Then I strung them on some curling ribbon and hung them from the chandelier. I think they cost me about $7, and look how pretty they look!


I didn't get any pictures of the food table (for which I blame my husband, who was given express instructions to take pictures of everything. Apparently he didn't think I meant the food!) Our menu attempted to play on the monkey theme while also providing things people could actually eat, since the party was at noon. We had "Monkey Burgers and Monkey Tails" (hamburgers and hot dogs), "Monkey Pasta" (pasta salad), red jalapeno jelly on cream cheese with crackers, fruit skewers of strawberries and blueberries with yogurt dip, chips and salsa, chocolate dipped bananas, and banana pudding. 

I did get pictures of the drink table, where we had an assortment of sodas and "Monkey Juice", which was 7-Up and Hawaiian punch. A sock monkey helpfully held up the punch bowl. 


This was taken after the party, thus the punch bowl is almost empty. 
Even the straws were decorated. Easy and festive!


Thursday, March 8, 2012

Sock Monkey Party - Decorations

Sock monkey party continued! I wanted the house to be decorated with a mixture of sock monkey items and baby-specific items. In the end, my decorations included balloons, sock monkey stuffed animals, a banner of E's pictures months 0-12, baby faces with party hats hung about the home, crepe paper, and flowers. Here are some examples.

I decorated the high chair with tissue paper pom poms. I made the party hat using this tutorial. Both were easy to do and turned out so cute!


Other guests wore sock monkey party hats I got from this site. I also got the napkins, plates, and cups from there. Pretty reasonably priced (comparable to Party City) and super cute. I also stuck E's hat from the invitation photo shoot on a decanter. Had to use it somehow!


The baby faces turned out the cutest, in my opinion. I printed pictures of her from all ages on cardstock and cut around the heads. I bought patterned scrapbook paper for the hats, and a big bag of multi-colored poms for the tops. For the ruffles, I bought about a yard of white cotton fabric and ruffled it on a sewing machine. I then cut it to length and hot glued it at the bottom of each hat.


I had taken a picture of E on each month's birthday laying on a giraffe rug. For this banner, I put each picture on alternating red and brown polka dot backgrounds and printed 6x8s of them. I then strung them on curling ribbon to hang them up. Luckily, Happy Birthday has exactly 13 letters, so I printed out the letters on cardstock and cut them out to hang underneath.

The white letters with red polka dots didn't photograph well, but looked good in person!

I also made a balloon wreath! I considered doing just cream, red, and white balloons to go with the theme, but I decided to do multicolored ones so I could use the wreath for every birthday. Thank goodness, because this took awhile! I attached a monkey-themed sign with a pipe cleaner.


A few other random decorations. Polka dot streamers, polka dot balloons, and a fireplace filled with balloons!


Wednesday, March 7, 2012

Sock Monkey Party - Desserts

So the sock monkey party has come and gone, now it's time to go over everything!

I'll start with the desserts. My icing skills are not always great, but I did my best. I made monkey cupcakes for the party goers and a chocolate smash cake for the birthday girl.
The dessert table
The monkey cupcakes were yellow cake with chocolate icing. I displayed them on my (luckily!) red and white cake plate from Crate & Barrel and my red cupcake holder from Target. It was lucky for this party's colors that my favorite color is already red!


I used regular Nilla wafers for the mouth/nose area, and mini Nilla wafers cut in half for the ears. TIP: when you cut the mini Nillas, saw them with slight pressure from the knife rather than cut. They will stay together better and you'll have less loss. I used chocolate chips for the eyes - you could also use black icing, but the chips were faster and I had a lot of cupcakes to ice! They are also pretty cute. The mouths are red gel icing in the tube - easy peasy.

Half the mouths were open and half were closed, just for funsies!

I used a 6 inch spring form pan to make the chocolate smash cake. I bought mine at Michael's, which was the only place I could find any 6 inch pan. It was the perfect size - obviously Emily barely ate any of the cake, but it is mostly for looks anyway. It was a good size for icing. They also make a 4.5 inch spring form pan, but it felt too small. I used vanilla and chocolate buttercream for the monkey. The eyes are vanilla buttercream with a drop of black dye, and the mouth and hat are dyed red. (Which actually looked more pink in person - a true red is really, really hard to get. I would probably use the red gel icing if I did it again.) 

Not the best icing job in the world, but passable.

 I also made a candy cake with red, white, and brown M&Ms, surrounded by Kit-Kats and tied with a pretty red polka-dot bow. The original link I saw for this uses cake topped with M&Ms, with the Kit-Kats iced to the outside. I already had more than enough cake, so I turned a 9 inch round cake pan upside down, iced the Kit-Kats to to outside with a little chocolate buttercream, and put the M&Ms on top. It worked perfectly!


Can't even tell there's a cake pan under there!

Everything turned out pretty well, and it all tasted good, which is the most important part!

Monday, February 20, 2012

Sock Monkey Birthday Party

Emily's birthday party will be sock monkey-themed. I've got lots of fun decoration ideas, but first I had to do the invitation! We took some pictures of her in a themed 1st birthday/sock monkey onesie (from etsy, link below), a sock monkey hat (also from etsy - the place to buy cute things, obviously), and with a few sock monkey friends (from Target). Then I designed the invitation using PDFs I also purchased from etsy and by accessing my creative side.

Here is the finished product!


I took out the RSVP and address info - thus the blank spaces. But you get the idea.
 I think it came out pretty cute! It helps to have a photogenic baby, of course. ;) Now we'll see if the rest of the decorations and activities live up to the great ideas in my head!


Onesie:  http://www.etsy.com/listing/91887756/cute-girly-sock-monkey-birthday-shirt
Hat: http://www.etsy.com/listing/75301288/ready-to-ship-crochet-baby-sock-monkey
PDFs: http://www.etsy.com/listing/62707105/sock-monkey-digital-clipart-elements-and

Tuesday, January 24, 2012

Valentine's Day Yarn Wreath

The worst thing about putting away my Christmas decorations is how sad and barren my house looks after. (The second worst thing? The fact that no matter what I do, I always end up with decorations that do not fit back in the boxes. But I took them out of those boxes! It's their home! Are you too good for your home? Go home, decorations!) So this year I decided that I was going to make some Valentine's Day decorations to get my house through that sad transition.

A yarn wreath seemed like a fairly easy and inexpensive way to achieve this. I started with a styrofoam wreath (Michael's, $4.99), a ball of pink variegated yarn (JoAnn's, $2.99), some Aleene's Tacky Glue (JoAnn's, $1), and some scissors. 

I glued the beginning of the yarn to one side of the wreath. I wanted a clean look, so I wound the yarn tightly and in perfect straight lines. Here is the beginning:

This is a close up of how I was winding the yarn:

I went once around the wreath and it took about an hour, maybe an hour and fifteen minutes. Every once in a while, I would push all the yarn together so that it was as tight as possible. Also, pro tip: Sometimes, you should turn the wreath over and make sure the other side isn't all messed up. I ASSUME that could happen to SOME PEOPLE if they aren't paying attention. It definitely didn't happen to me, no siree. 

This is what it looked like when I was done winding the yarn. I really like how the variegated yarn made it look. 
Excuse the poor picture - it was getting late.
To jazz up the wreath a little, I got some felt pieces (I used just one 9x12 white piece) to make rosettes. I traced circles of varying sizes on the felt first, because I failed cutting in Kindergarten and I was definitely NOT going to freehand this. I used a Christmas mug, the top of a CD holder, and an old Rodeo giveaway item for different size circles. 
What, you don't have a headless monkey riding a dog at YOUR house? 

Once you cut the circles, you then cut the circle into a spiral. Like so:
Cutting the spiral

The spiral and the piece left over.
Then I took one piece of the spiral and rolled it around itself until it formed a rosette. Glue the last bit to itself, and then glue the whole thing onto the little piece left over. 
You know what's hard? Photographing a white flower. 
I then glued the rosettes to the wreath, braided some yarn, and hung the wreath on the door. I might add some more flowers later, but for now I like the clean, simple look of it. 


In the end, I think it turned out pretty. Craft #1 a success! 


Why Do I Think I Can Craft?

It is well-documented that I am not "crafty". I learned to sew when I was a kid, I made a tote bag, and then I forgot everything I ever knew and never sewed again. I learned to crochet, made a couple of long skinny lines of yarn, and then stopped doing that. I even did that rug weaving thing, made half a rug, and quit. I get discouraged easily and don't like doing things I am not good at.

BUT THEN! Pinterest happened. And there are so many cute things! And they all make me totally overestimate my crafting abilities! So this blog will document my forays into the world of crafting, cooking, baking, and everything else that Pinterest makes me think I am an EXPERT at. Stay tuned!